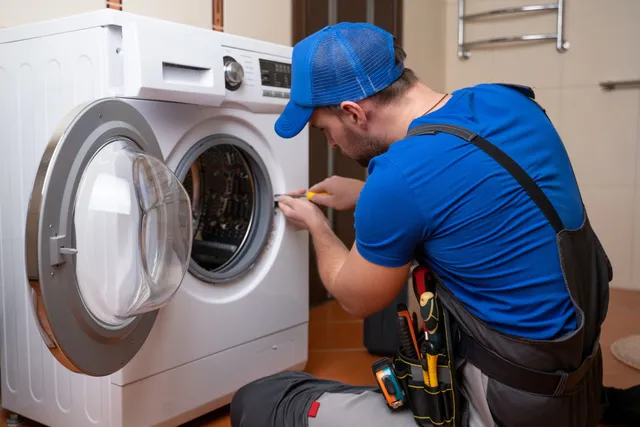
A dryer that refuses to start can turn an ordinary laundry day into a real headache. While it’s tempting to call a technician right away, many common issues behind a non-starting dryer can actually be resolved at home. Before you resign yourself to air-drying your clothes or shelling out for professional repairs, it’s worth taking a closer look. Let’s walk through the most frequent causes and the practical solutions that might just get your appliance humming again.
1. Check the Basics: Power Source and Door Switch

First things first—sometimes the issue isn’t as complex as it seems.
Power Supply:
Is the dryer plugged in? It sounds obvious, but it’s easy to overlook. Check the power cord and ensure it’s securely connected to a functioning outlet. Try plugging in another device (like a lamp) to verify the outlet itself is working. If your dryer runs on gas, make sure the gas supply valve is open.
Circuit Breaker:
A tripped circuit breaker is a common culprit. Locate your home’s electrical panel and see if the breaker for the laundry area has flipped. If so, reset it and try starting the dryer again.
Door Switch:
Dryers are designed with a safety feature that prevents operation if the door isn’t firmly closed. Listen for the familiar “click” when you shut the door. If you don’t hear it, the door switch may be faulty or misaligned.
2. Examine the Start Switch and Thermal Fuse

If the basic checks don’t reveal the problem, the issue may be a faulty internal component.
Start Switch:
When you press the start button, does anything happen? If there’s no sound at all—not even a hum—the start switch itself might be defective. This can often be tested with a multimeter, but if you’re not comfortable handling electronics, it’s best to seek assistance or consult your user manual.
Thermal Fuse:
Modern dryers have a thermal fuse that protects the appliance from overheating. If the fuse blows, the dryer won’t start. Usually, the fuse is located on the blower housing or near the heating element. Replacing a blown thermal fuse is straightforward, but remember: a blown fuse often indicates another issue, such as blocked vents.
3. Inspect the Drive Motor and Belt

Sometimes, internal mechanical failures are to blame.
Drive Motor:
If you hear a humming noise but the drum doesn’t turn, the motor might be stuck or burned out. Lint or debris can sometimes block the motor fan blades. Carefully unplug the machine, open the back panel, and check for obstructions.
Drive Belt:
On some models, a broken drive belt can prevent the dryer from starting altogether, especially if there’s a belt switch as a safety feature. Inspect the belt for wear and tear; if it’s snapped or loose, a replacement may solve the issue.
4. Test the Timer and Control Board

Timer:
A faulty timer can interrupt the dryer’s cycle before it even begins. Test it by setting the dial to different positions and trying to start the dryer. Sometimes, simply moving the dial can dislodge stuck contacts.
Control Board:
Modern dryers have electronic control boards that govern all functions. If there’s no response at all, the control board might be defective. This is one of the more technical repairs and, in most cases, is best left to a professional. Still, sometimes a hard reset (unplugging the dryer for a few minutes) can temporarily resolve electronic glitches.
5. Don’t Overlook Safety Features and Sensors
Many newer dryers include moisture sensors and child safety locks. If your dryer is equipped with these, consult the user manual to ensure none of these features are preventing the machine from starting. Sometimes, a locked control panel is the only thing standing between you and dry clothes.
6. When to Call a Professional
If you’ve worked through these steps and the dryer still won’t budge, it’s time to bring in a professional. Electrical issues, major motor problems, and control board replacements can be complex—and sometimes even hazardous—without the right experience.
Final Thoughts
While a dryer that won’t start can be a real nuisance, many of the most common causes are easy to troubleshoot with a little patience and a few household tools. Always remember to unplug the machine before investigating internal components, and don’t hesitate to ask for help if you’re unsure. Sometimes, a simple fix can save both time and money, and you’ll have your laundry routine back on track before you know it.